
How to use wax bead granules
Wax beads, also known as wax granules, are a simple way to make beautiful wax seals. In this blog post I’ll show you exactly how to make wax seals using wax bead granules. Sealing wax comes in may forms, including the traditional sticks with and without wicks. But small wax beads are the easiest way to create colourful and unique wax seals. They’re easy to use, good value, and a really reliable way to make beautiful wax seals every time.
Materials for making wax seals
To make your wax seals you’ll need:
a spoon to melt into,
paper or an envelope to seal,
paper towel or scrap cloth to clean your spoon, and
a candle as your heat source.
Tip: It’s best to use a tea light candle, rather than a candle in a glass jar, as you want your spoon to be able to get close to the flame.
In this example I used wax beads from the Mixed 100 set, Acorn Cluster stamp, wooden handled spoon, and paper from the Marquis ephemera pack.

Using wax bead granules
Step 1:
Arrange the paper or envelope you want to seal, and all the items you need including decorative elements like string or flowers. You want to do this before you start melting your wax, because once the wax is hot you’ll need to move quickly. Wax can sometimes leave a residue through thin papers. To avoid damaging surfaces use a piece of waxed kitchen paper or a heat proof mat under the area you want to seal.
Depending on the size of your wax seal stamp you will need approx:
Tiny (1.5 cm) = 2+ granules
Regular (2.5 cm) = 3+ granules
Large (3 cm) = 4+ granules

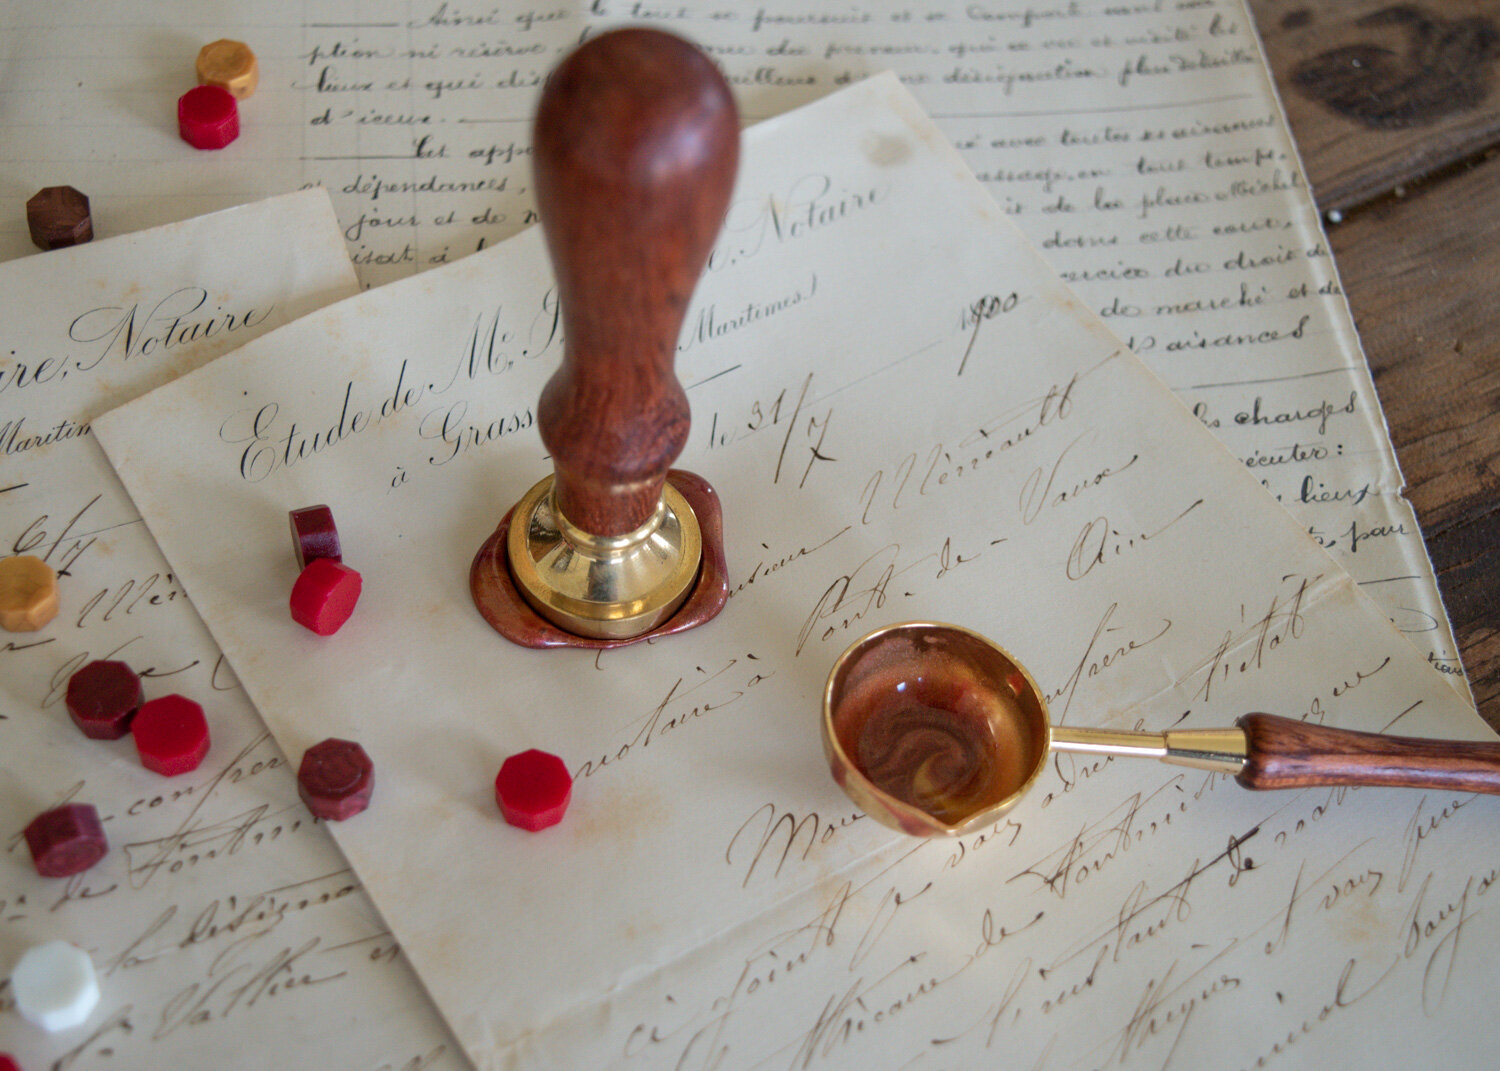
Step 2:
Place you chosen wax bead granules into the bowl of your wax melting spoon. Then hold your spoon close to the flame, but not touching. Gently move the spoon from side to side. The aim is to provide an even, gentle heat. If the flame is touching the bottom of the spoon it will blacken, and quickly overheat the wax at the bottom while the rest remains solid.

Step 3:
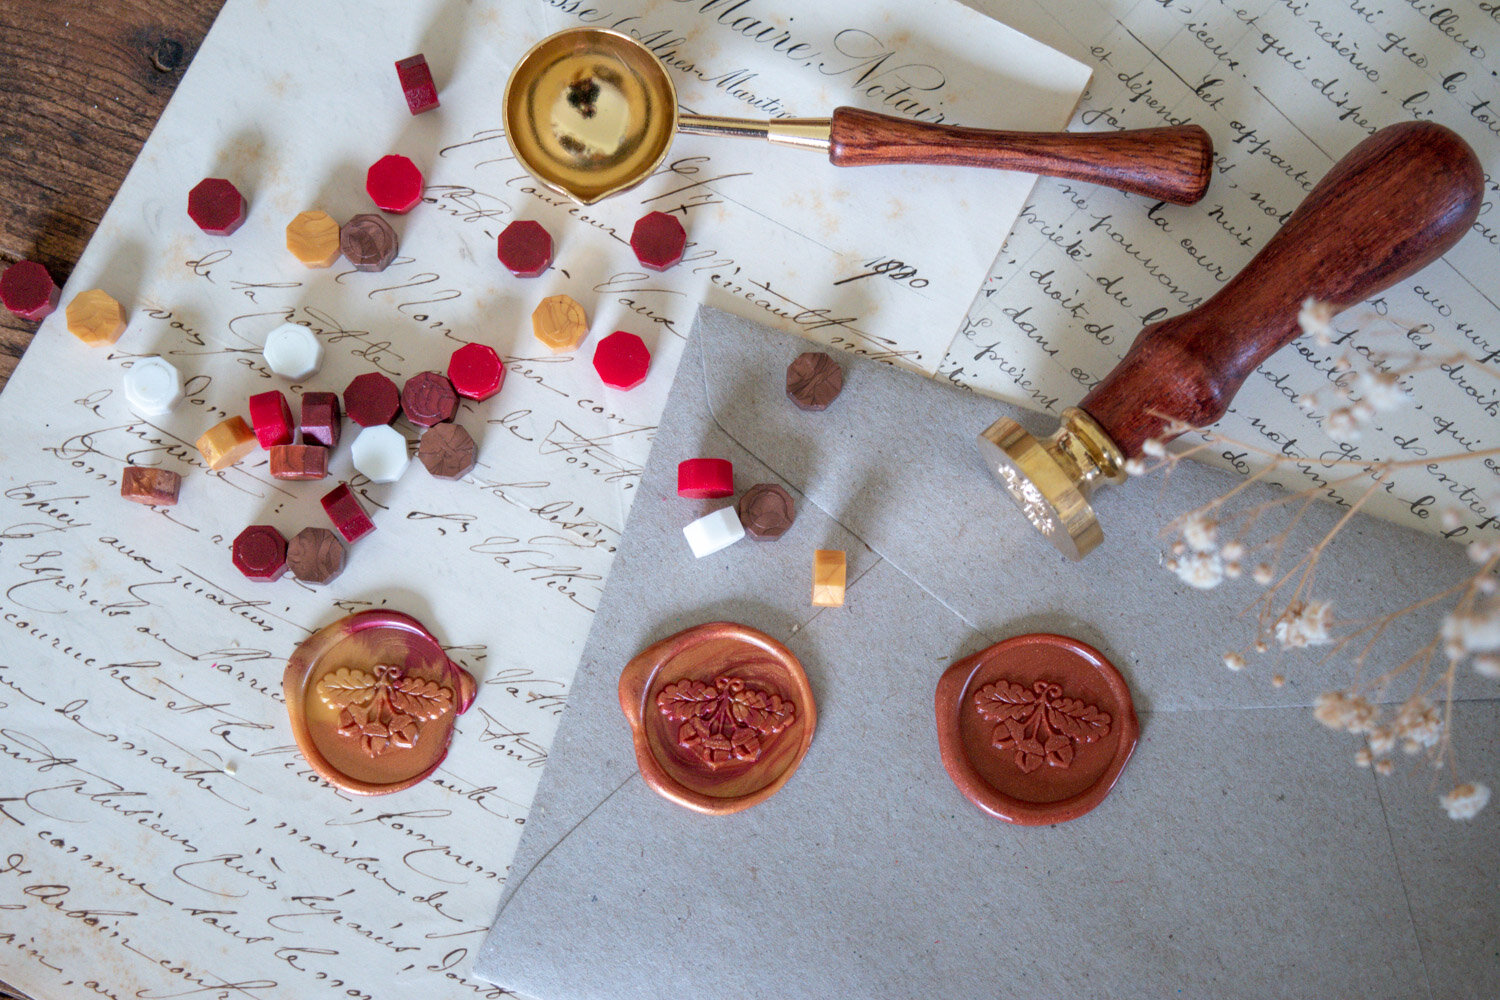
Once the wax bead granules are melting you can decide on the finish you would like, if you have chosen beads of more than one colour:
For distinct sections of colour allow the wax to melt with as little agitation as possible.
For swirled or marbled colours gently stir the wax with a paperclip or matchstick a couple of times.
To create a new shade completely mix the melted wax bead granules with a paperclip or matchstick until no trace of the original colours remain.
As you practice making wax seals with wax bead granules you can experiment with different colour combinations and stirring/pouring techniques to suit different projects. Have fun with it!

Left: Separate | Middle: Swirled | Right:Mixed
Step 4:
Check that your wax is not smoking or bubbling. If it is smoking hold it away from the flame for a few seconds to cool before you pour, otherwise the wax will be too soft and runny. If there are bubbles in your wax hold the spoon away from the flame and using a matchstick or paperclip gently stir the wax. This will smooth the bubbles so they don’t transfer to your seal and create imperfections.
Step 5:
Pour the wax onto your chosen spot, trying to achieve a circle about the same size as the head of your stamp.

Step 6:
Set your spoon aside and immediately take your seal and press it firmly into the centre of the pool of wax. The wax will squeeze out the sides as you press down. After 3 seconds of pressure you can take your hand away from the stamp, but leave the stamp in place until the wax has completely cooled. Which usually takes around 30 seconds, depending on the temperature of your room.
Step 7:
When the wax has cooled gently lift the stamp away. If there’s resistance wait a couple of seconds extra to be sure it has fully cooled.
Step 8:
Your seal is complete! If you’d like to highlight the design to really make it stand out gently brush or draw along any raised sections with a metallic ink.
Tips for using wax bead granules
Wax beads can be cut in half with scissors or a scalpel to create even more colour combinations
With careful pouring you can make more than one seal at a time, provided you have more than one seal
You can re-melt any wax that is left behind in your spoon. Simple heat the spoon over a flame and add some extra wax beads if needed. This is a great way to avoid wastage and create unusual colour combinations.
Wax seals you aren’t happy with can also be re-melted. Just make your practice seals on a non-porous surface like; marble or other smooth stone, silicone baking mat, or waxed paper. Always do a small test in an inconspicuous area first!
To clean your wax melting spoon simply wipe down with folded paper towel or cloth while the wax is still warm. Take care not to burn yourself, as the metal will be hot.
Have a wax seal related challenge or question?
Contact us with your suggestions for future blog posts, we’d love to hear from you.